
How to create a UGC video?
How to create a UGC video?
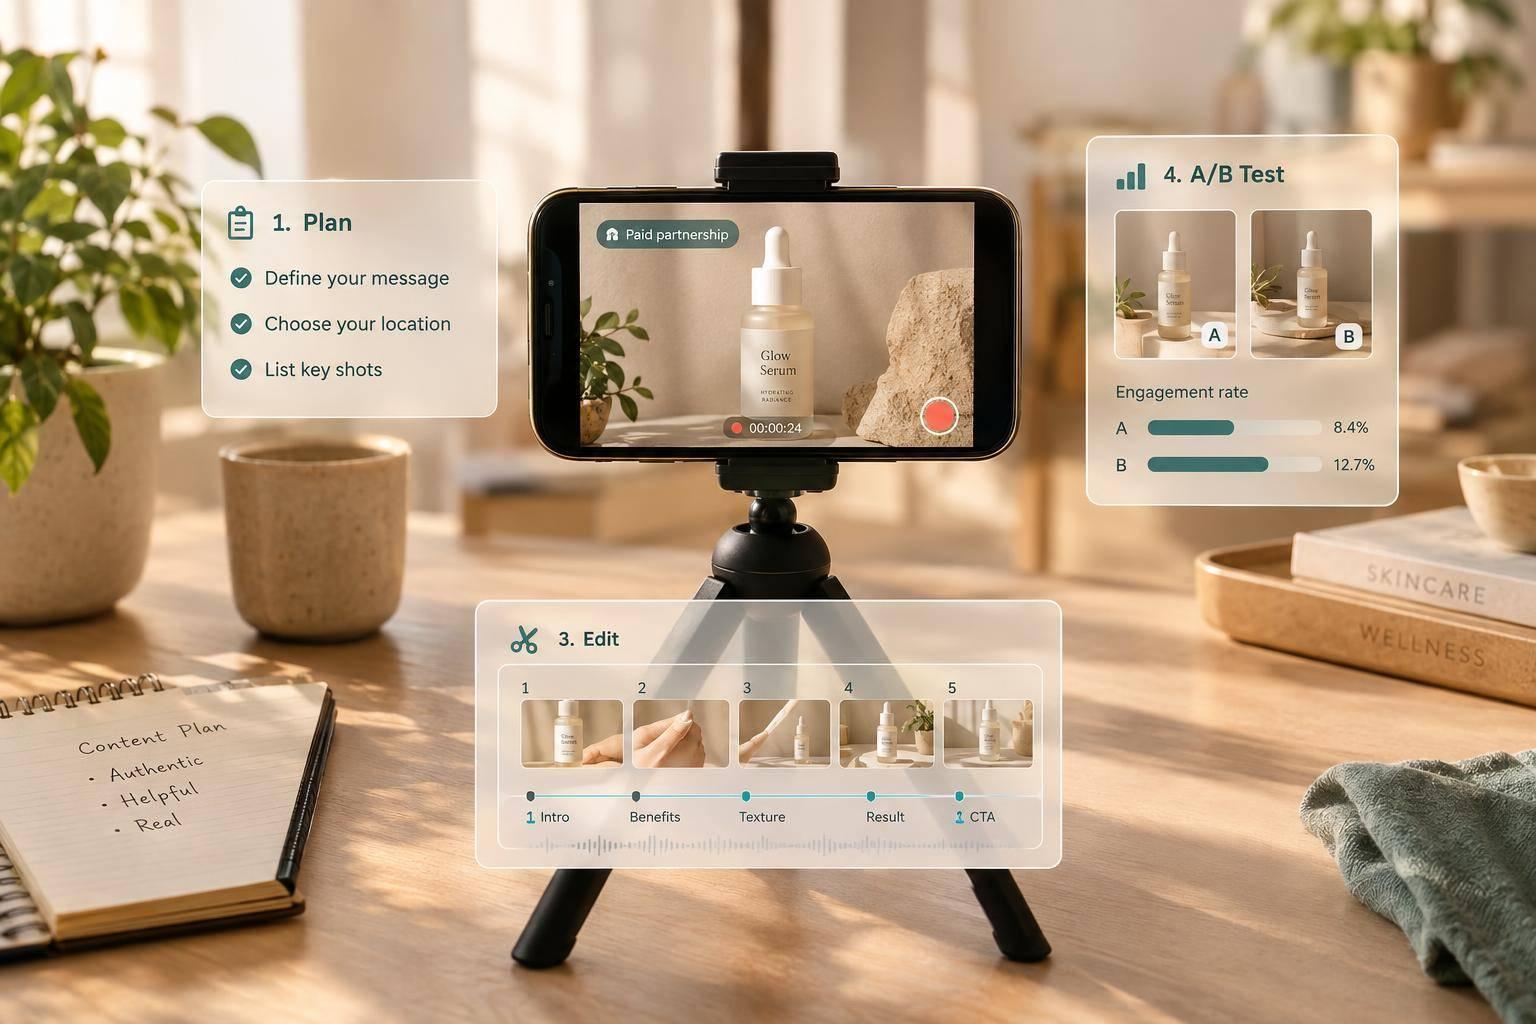
I start a UGC video with one product experience, one clear demo, and one next step for the viewer. My goal is to show what happened - not recite a sales pitch.
Here’s my process:
- Plan: Choose an unboxing, review, or problem–solution demo, then match each script line to a shot.
- Film: Use my phone, check light and sound, and record separate clips with product close-ups.
- Edit: Trim the footage into a vertical video, add captions, and check upload requirements.
- Review: Check claims and disclose paid content or AI use. If I can’t film, I can use Sun Scroller to generate a draft for review and approval.
- Test: Try 3 hooks with the same demo, then compare watch time, completion rate, and clicks.
I aim for finished, not perfect - with <u>truthful claims and clear disclosures</u> before posting.
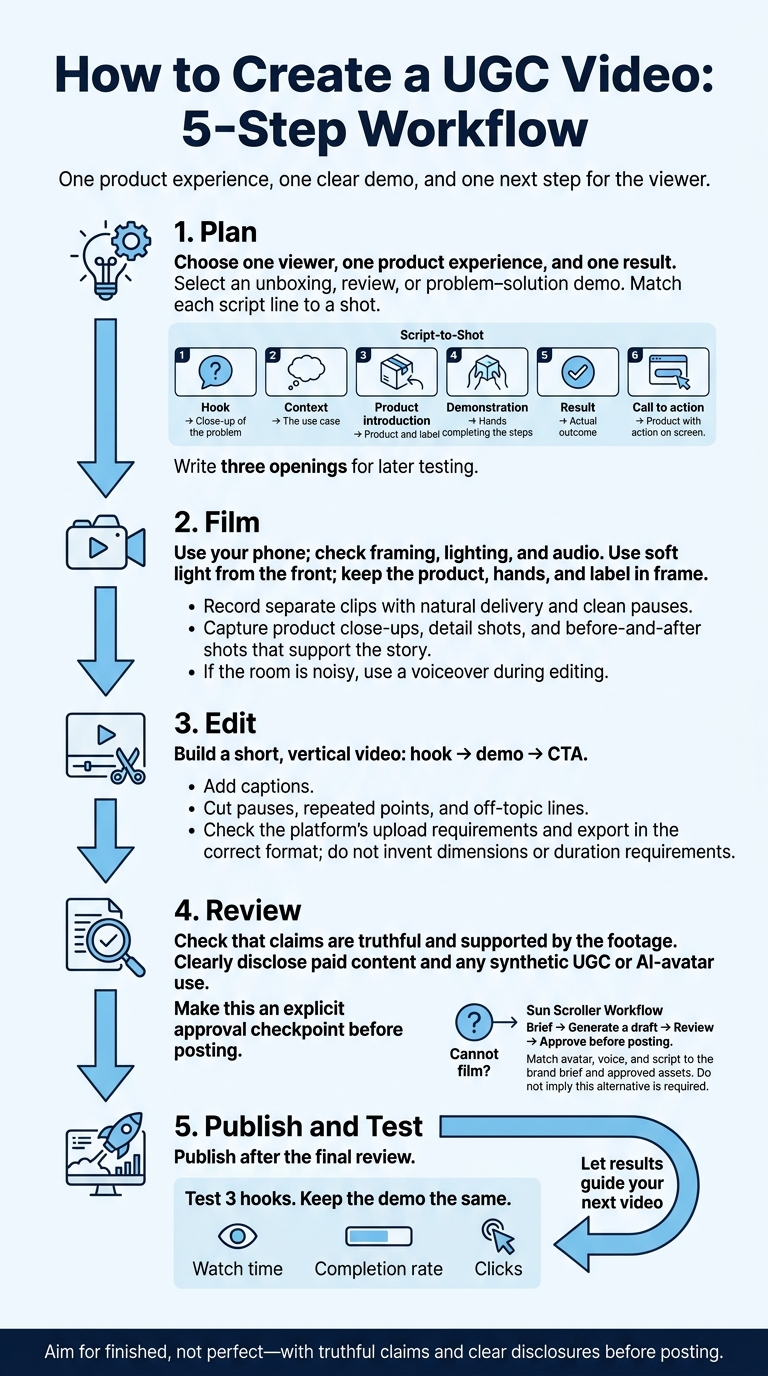
How to Create a UGC Video: 5-Step Workflow
1. Choose a Product Experience and Write Your Script
Turn your product experience into a simple script and shot list. Before you write, choose one viewer, one product experience, and one result.
Choose an Unboxing, Review, or Product Demo
Use an unboxing when the package contents and your first impressions are the story. Choose a review when you’ve used the product enough to explain what worked - and what didn’t. Go with a problem–solution demo when you can show a specific task and its outcome.
Cut any feature that doesn’t support your story. For before-and-after demos, make the change clear within seconds.
Map Each Line to a Shot
Write your spoken lines next to a simple shot plan. Give each line one job, and make sure the footage backs it up.
| Section | Purpose | Suggested footage |
|---|---|---|
| Hook | Show the problem fast | Close-up of the problem |
| Context | Explain why you tried it | The use case |
| Product introduction | Identify the product | Product and label |
| Demonstration | Show how it works | Hands completing the steps |
| Result | Share what changed | Actual outcome |
| Call to action | Give one next step | Product with action on screen |
Read the script aloud and swap stiff wording for words you’d actually say. Use first-person language, and cut any claim you can’t prove.
Write three openings, keep the demo the same, and test which hook works best. Once the script works, move to filming.
2. Set Up Your Phone and Record Your Clips
Check Framing, Lighting, and Audio
Follow your script’s shot list to film each scene clearly. Use soft light from the front, and keep the product, your hands, and the label in frame. If the room is noisy, plan to replace the live audio with a voiceover during editing.
Once the framing looks right and the audio is usable, record your main clips first.
Film Natural Delivery and Product B-Roll
Record each part as a separate clip. That makes it easier to swap hooks and reorder footage later. Speak slowly and leave clean pauses so your delivery feels calm and conversational. Go for believable takes that match your script - not polished acting.
Add supporting B-roll that shows the product working:
Capture close-ups, detail shots, and before-and-after shots that support your story.
3. Edit, Review, and Publish Your Video
Trim Your Clips and Tighten the Flow
Turn your recorded clips into a short, vertical story that moves from hook to demo to CTA. Add captions, then cut pauses, repeated points, and off-topic lines that slow the pace.
Check Your Export and Test Different Hooks
Review the final cut and check the platform’s upload requirements before exporting. Then export in the correct format.
Keep the demo the same as you test different hooks. Use each channel’s analytics to see which hook-and-demo combinations bring in the most traffic and engagement.
Use Sun Scroller When You Cannot Film
If you can’t film yourself, use Sun Scroller’s brief-to-approval workflow: start with the brief, generate a draft, review it, and approve it before posting.
Match the avatar, voice, and script to the brand brief and approved assets. Check every version before posting to make sure all three still match the brief.
Conclusion: Finish Your First Video and Repeat
Aim for a finished, publishable video - not a perfect one. Keep it short and ready for social media: one product experience, one hook, one demo, and one call to action (CTA).
Run a final check before posting. Make sure your claims are truthful and your disclosures are clear, including any use of synthetic UGC or AI avatars.
Once the video is live, review watch time, completion rate, and clicks. Let those results guide your next video.
FAQs
How long should my UGC video be?
Keep your UGC video short and to the point. The right length depends on your platform and content goals, but short-form videos generally hold viewers’ attention and get your message across fast. Focus your hook, demonstration, and call to action so your video is ready for social media and makes an impact.
Can I make UGC without showing my face?
Yes, you can create user-generated content without showing your face. Sun Scroller can make high-quality videos with AI avatars, AI-generated visuals, or footage you already have. You don’t need to appear on camera.
How should I disclose paid or AI-generated UGC?
On Sun Scroller, clearly label AI-generated content as AI-generated or synthetic in the video caption or an on-screen overlay. These disclosures help maintain audience trust and meet platform-specific advertising standards for synthetic media and paid partnerships.
Sun Scroller requires your approval for every piece of content before it goes live. During your review, make sure the disclosure is easy to see and accurate.