
How to make a pixar AI video?
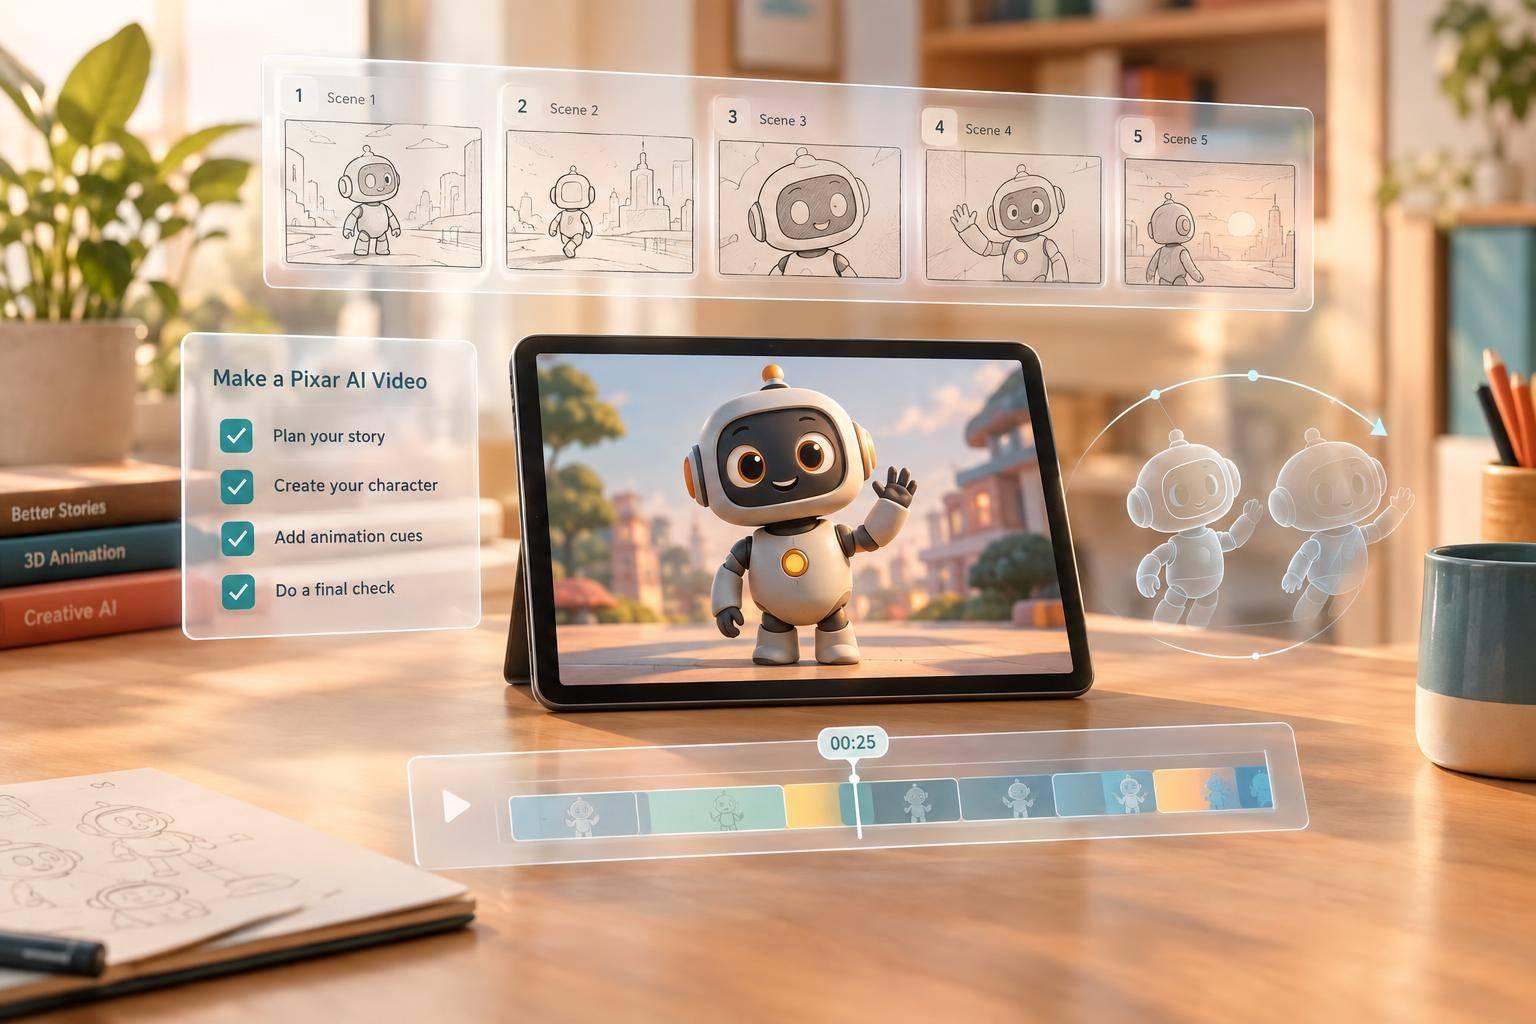
How to make a pixar AI video?
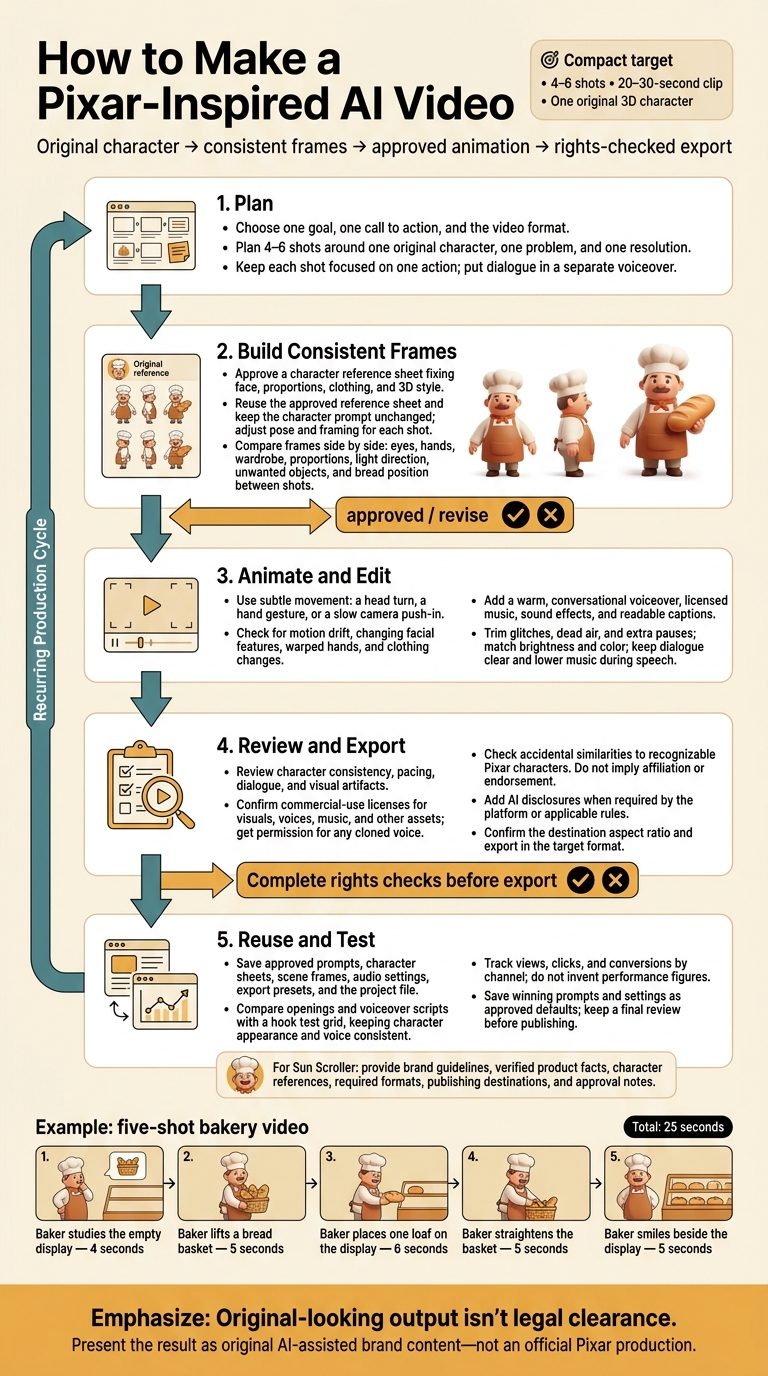
I’d make a Pixar-inspired AI video by planning 4–6 shots, generating frames with one original 3D character, and animating them into a 20–30-second clip. The goal is a warm, expressive look - not a copy of Pixar’s characters or branding.
Here’s the workflow I’d follow:
- Plan: Choose one goal, one call to action, and the video format.
- Build: Lock the character design, reuse its reference sheet, and check each frame.
- Animate and edit: Add subtle movement, voiceover, licensed music, and readable captions.
- Review: Check visual errors, asset licenses, voice permissions, and any required AI disclosures before export.
- Reuse and test: Save approved assets, compare different openings, and track views, clicks, and conversions.
My rule: <u>Original-looking output still needs rights checks.</u> For recurring videos through Sun Scroller, I’d also provide brand guidelines, verified product facts, and approval notes.
How to Make a Pixar-Inspired AI Video
Step 1: Plan the Story and Create Consistent Frames
Write the Script and Shot List
Plan 4–6 shots around one original character, one problem, and one resolution. This structure works for any brand. Use the goal selected in the introduction to choose the problem and resolution.
Keep each shot focused on one action. Put the dialogue in a voiceover so the baker doesn’t need to talk while working.
Shot Action and framing Setting and lighting Voiceover Duration 1 Baker studies the empty display; medium shot Behind the counter; warm morning light “A fresh morning starts here.” 4 seconds 2 Baker lifts a bread basket; medium close-up Same setup None 5 seconds 3 Baker places one loaf on the display; close-up Wooden display surface; soft shadows “Baked with care.” 6 seconds 4 Baker straightens the basket; medium shot Same setup “Ready for our neighbors.” 5 seconds 5 Baker smiles beside the display; wide shot Same setup; open space above the counter “Stop by this morning.” 5 seconds
Match the voiceover to the brand’s message.
Build a Character Sheet and Reuse Your Prompt
Create a reference sheet that fixes the character’s face, proportions, clothing, and 3D style. Approve it before making scenes, then reuse it in every scene to keep the character consistent across videos and formats.
Reusable character prompt: Original stylized 3D baker mascot with a consistent face, proportions, clothing, and friendly personality. Soft shading, warm lighting, plain background, full body visible. No existing characters, logos, or text.
Generate and Check Each Scene Frame
Save the approved character sheet and keep the character prompt unchanged. Adjust only the pose and framing for each shot. For shot 3, use the prompt below with the reference sheet.
Scene prompt: Use the approved baker and bakery references. The same original 3D baker is arranging bread on a wooden counter, placing one loaf beside a bread basket. Close-up showing the hands, loaf, and approved clothing. Warm morning light enters from the left, with soft shadows. Preserve the approved character proportions, clothing, setting, and props. No extra objects, text, or logos.
Compare all five frames side by side. Check eyes, hands, wardrobe, proportions, light direction, and unwanted objects. Track the bread’s position between shots as well, and label each frame approved or revise.
Move the locked frames into image-to-video animation.
Step 2: Animate the Frames and Add Voiceover
Set Character and Camera Movement
Once the frames are approved, animate only the movement to create a short, brand-safe clip. Keep motion subtle: a head turn, a hand gesture, or a slow camera push-in.
Review short takes in batches. Check each take for motion drift, changing facial features, warped hands, and clothing changes.
When the motion looks clean, add the voiceover.
Add Dialogue, Music, and Sound Effects
Add a separate voiceover track that matches the brand tone and clip length. Keep the narration warm and conversational, with natural pauses.
Review the voice and script first, then check every generated voice clip and video segment before export. Use voice cloning only to keep the brand voice consistent.
Step 3: Edit and Review the Video
Once the animation and voiceover are approved, fine-tune the edit for pace, clarity, and consistency. Put the best takes on your timeline, then trim glitches, dead air, and extra pauses. Time cuts to changes in the narration - not the middle of a thought. Match brightness and color across shots. Keep dialogue clear, turn down music during speech, and soften sound effects that compete with the voice.
Check and Export the Finished Clip
Add captions that are easy to read. Check the final edit for character consistency, pacing, dialogue, and visual artifacts. Confirm the aspect ratio for the destination, then export in the target format after completing the rights checks below. Save the approved character references, scene frames, audio, and project file for future clips.
Review Originality and Commercial Rights
Check for accidental similarities to recognizable Pixar characters. Don’t use Pixar logos, titles, copied dialogue, or protected artwork without permission. Never imply affiliation or endorsement.
Original-looking output isn’t legal clearance. Confirm commercial-use licenses for visuals, voices, music, and other assets, and get permission for any cloned voice. Add AI disclosures when the destination platform or applicable rules require them. Once these checks pass, the clip is ready to export.
Use Sun Scroller for Monthly Brand Videos
For recurring short-form brand videos through Sun Scroller, submit your brand guidelines, verified product facts, character references, required formats, publishing destinations, and approval notes. Review and approve the finished clip, complete pre-release rights checks, and export in the required formats before posting.
Conclusion: Reuse Your Assets and Test Each Clip
Once the first clip is approved, build a reusable asset library. Store approved prompts, character sheets, scene frames, audio settings, and export presets in one brand library that follows your voice and style guide.
Use a hook test grid to compare openings and voiceover scripts without changing the character’s appearance or voice. Track views, clicks, and conversions by channel. Save winning prompts and settings as approved defaults for the next clip, and keep a final review step before publishing.
Present the video as original AI-assisted brand content featuring a custom mascot or stylized character - not an official Pixar production.
FAQs
How much does a Pixar-inspired AI video cost?
Sun Scroller’s AI-generated video plans range from $1,900.00 to $6,800.00 per month, depending on the service tier. Each plan includes 12 to 48 short-form videos per month, plus features like AI avatars, digital presenters, and brand voice development.
How can I fix character changes during animation?
Review and approve every piece of content before publishing to keep your character consistent. Check every frame and element so the character stays recognizable across your brand’s content.
If the AI output doesn’t match your established brand material, manually adjust the avatar, voice, or script. Use your original source material as a reference until the result meets your requirements.
Can I use my AI video in paid ads?
Yes, you can use AI video in paid ads. Sun Scroller uses AI to create high-converting direct-response and product ads for TikTok, Instagram, Facebook, X, and LinkedIn.
All content, including ad assets, goes through an approval process before it goes live to make sure it fits your brand.